How to Add Animations to WordPress
Are you wondering how to keep your website’s visitors engaged? In this article, you will learn how to add animations to WordPress without slowing down your site.
While images and videos can help you achieve visually-pleasing pages, there’s another type of media you might be overlooking: animations. Adding interactive elements can be a powerful way to make your site more interesting.
We’ll start by explaining the benefits of adding animations to your site and discussing how LottieFiles can help. Let’s get started!
The Benefits of Adding Animations to Your Website
When you’re designing a WordPress site, it’s essential to find effective ways to make your web pages both aesthetically pleasing and engaging. To help your site stand out from the competition, it’s a good idea to incorporate multiple forms of media such as images, videos, and animations.
Adding animations to your website offers many benefits:
First, implementing motion on your pages can help showcase your products and services by drawing users’ attention to elements you’re purposely trying to highlight.
Animations can also have a positive influence on brand perception. They demonstrate that you’re a modern company that is up-to-date on the latest design trends. In turn, this can make you appear more professional, credible, and trustworthy.
Another advantage of adding animations to your website is that they can bring your designs to life. Movement on pages can seem novel and exciting. By sparking visitors’ interest in this way, animations can increase retention and boost conversions.
There are also a variety of distinct ways you can employ animations on your website, such as:
- Hover effects (buttons, links, etc.)
- Page transitions
- Decorative elements
- Dynamic backgrounds
- Scrolling effects
- Pop-ups
However, like other site owners, you might be hesitant to add animation to your website because you fear it will make your web pages take longer to load. Slow loading times can hurt the User Experience (UX) and contribute to higher bounce rates. The good news is that there’s an easy way around this.
An Introduction to LottieFiles for Beaver Builder
LottieFiles is a platform where you can access lots of free, scalable, and lightweight animations to use on your website:
Lottie is an open-source animation file format that delivers high-quality, interactive elements. LottieFiles offers an extensive library of animations to choose from, as well as all the tools needed to create, edit, test, and display animations.
Another benefit of LottieFiles animations is that they integrate with other WordPress tools. For example, you can easily embed them on your website with just a few clicks using Beaver Builder.
How to Add Animations to WordPress (In 6 Steps)
Now, let’s take a look at how to use Beaver Builder to add animations to WordPress in six steps. Note that for the following tutorial, we’ll assume that you already have Beaver Builder installed and activated on your website.
Step 1: Sign Up for a LottieFiles Account and Select Your Animations
To use Lottie animations, you’ll first need to create an account. You can do this by visiting the website and clicking on Sign Up.
You can make your account using Facebook, Google, or just email. If you sign up with your email address, you’ll need to confirm your account through a link that is sent to your inbox.
Once your account is set up, you can explore the LottieFiles website to find animations that fit your criteria. For example, you can browse the different categories or use the search function to find something specific.
Let’s say you’re looking for an animation to add to your Contact page. We could start by searching for either a text animation or a specific image.
In this example, let’s search for “phone”:
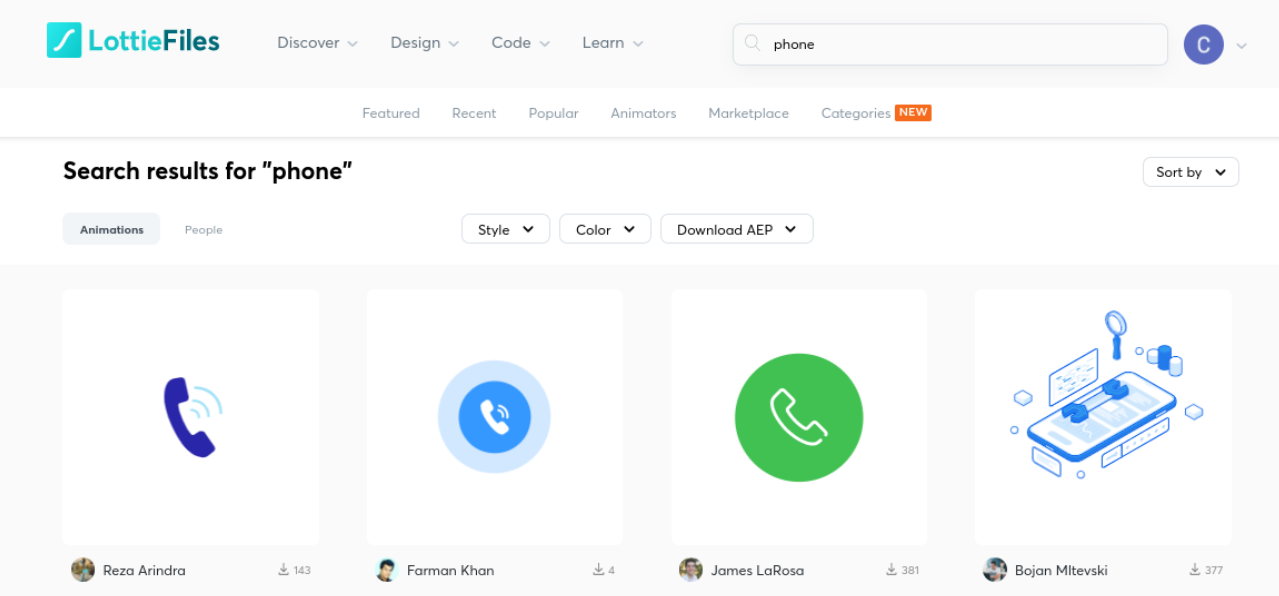
You can also filter your search by style and color. Then, when you find an animation you like, you can click on it for more information:
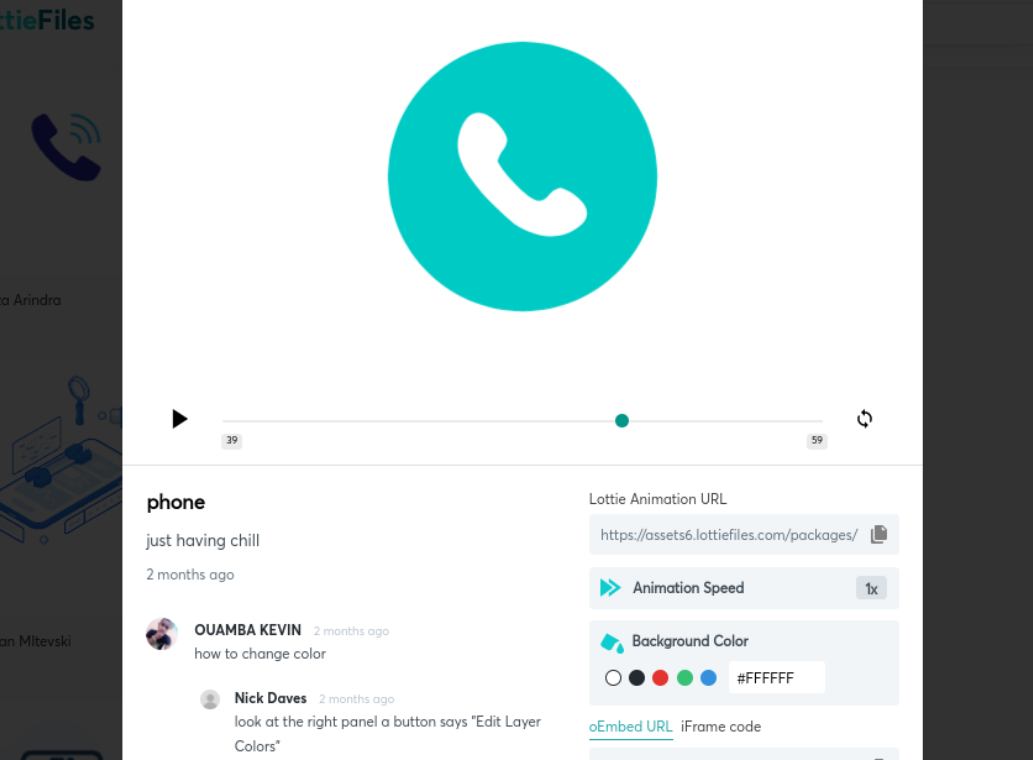
You’ll be able to preview the animation as it will appear on your website. Below the preview, you can find a lot of customization and styling options:
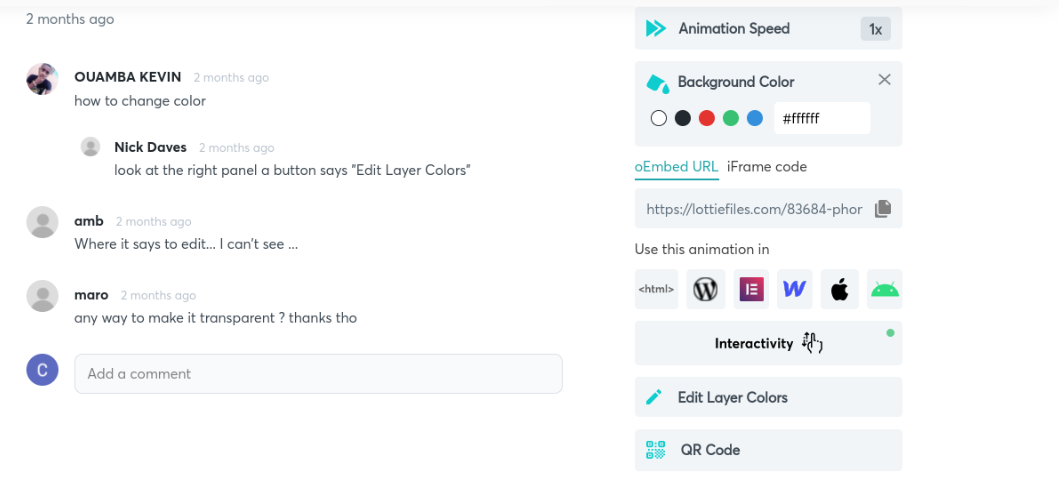
You can change the Animation Speed, Background Color, and Layer Colors. Additionally, for more advanced customization, you can click on Interactivity, which will open a new editor for you to modify the animation effects.
Step 2: Install the Lottie for Beaver Builder Plugin
The next step is to download and install the Lottie for Beaver Builder plugin on your WordPress site:
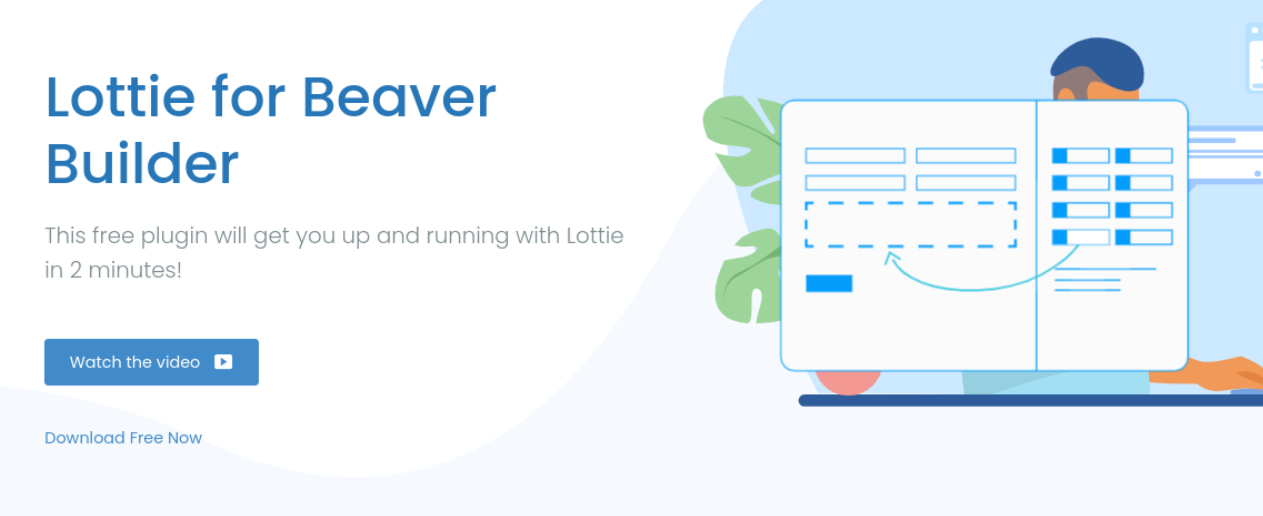
After clicking on Download Free Now, you can enter your email address. This is where you’ll receive the plugin download link:
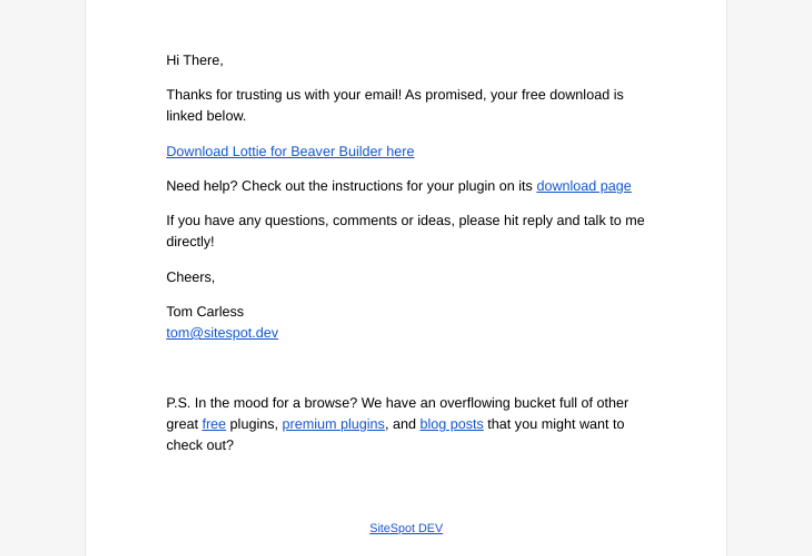
When you navigate to your email and click on the download link, it will
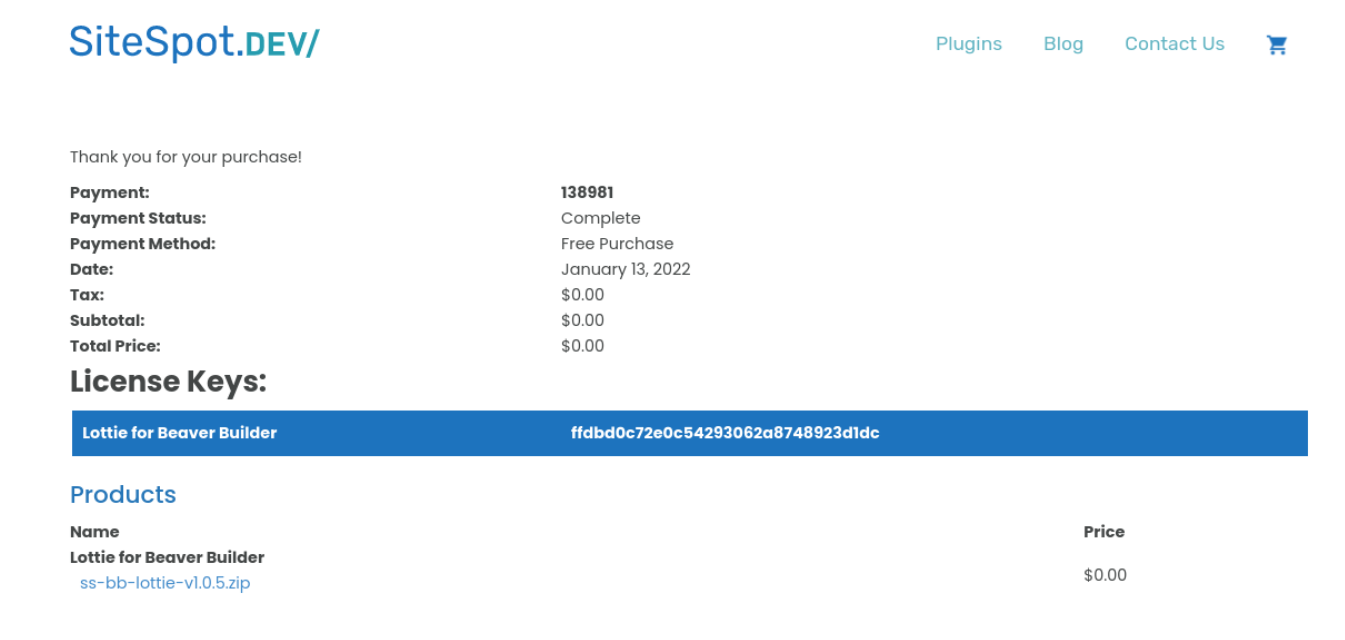
Next, make your way to your WordPress dashboard, then go to Plugins > Add New > Upload Plugin > Choose File. Then you can upload the file that was just downloaded.
Once it’s uploaded, click on Install Now and then Activate Plugin. Now you can navigate to the post or page in WordPress to add your animation.
Step 3: Launch the Beaver Builder Editor and Add the Lottie Module
After you open the WordPress page or post you want to add your animation to, click on Launch Beaver Builder. This will open the Beaver Builder editor interface.
In our example, we’ll edit our Contact page and insert the phone animation next to the Contact Us header:
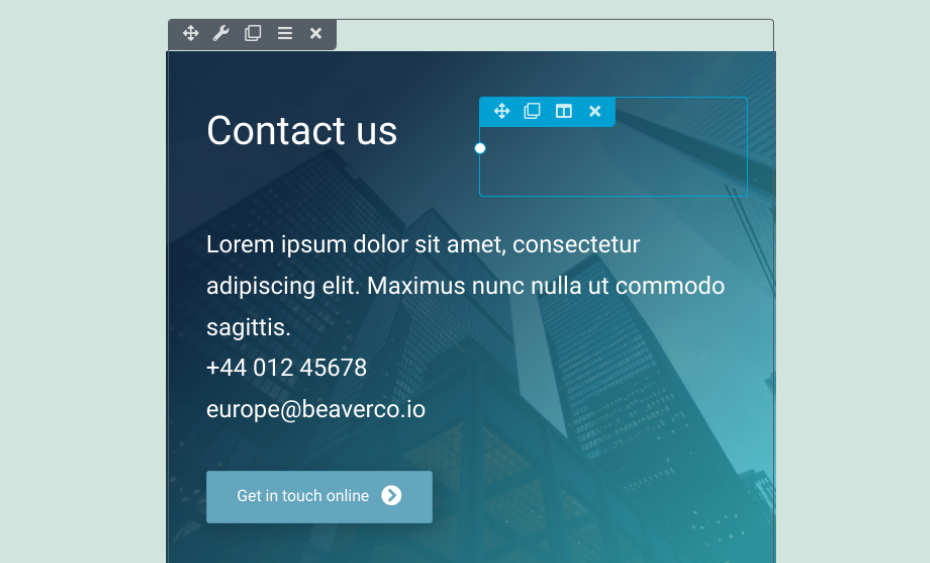
Click on the area where you want to insert the animation. Next, select the plus (+) icon in the top right-hand corner, and navigate to Modules.
Go to the Standard Modules drop-down menu, and then click on SiteSpot.Dev. Now you should see the Lottie module:
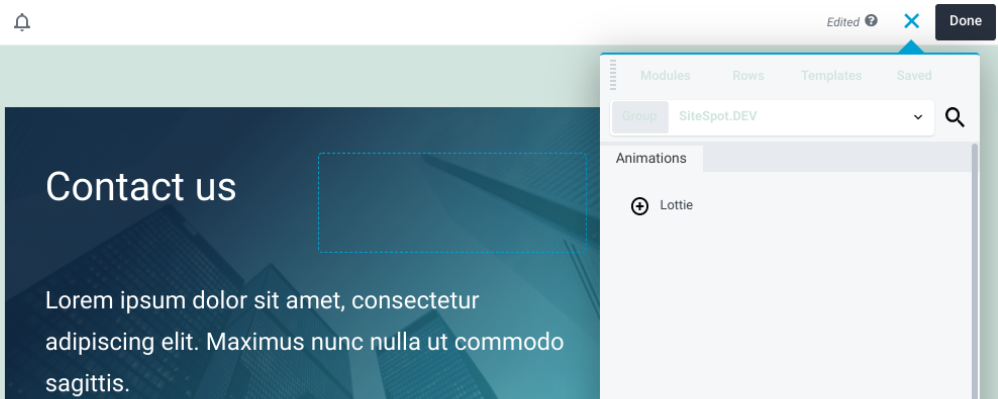
Select the Lottie module, then drag and drop it wherever you want to place it on the page.
Step 4: Copy and Paste the Lottie Animation URL
Once you’ve put the Lottie module in your preferred location, a settings panel will appear:
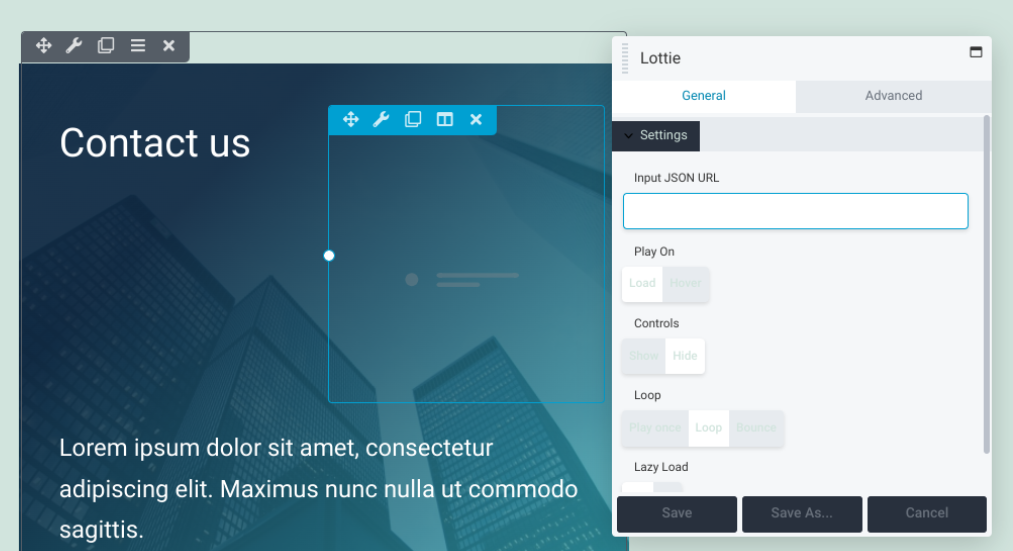
At this point, you can navigate back to your LottieFiles browser tab. Under the animation preview for your selection (the phone, in our case), copy the Lottie Animation URL:
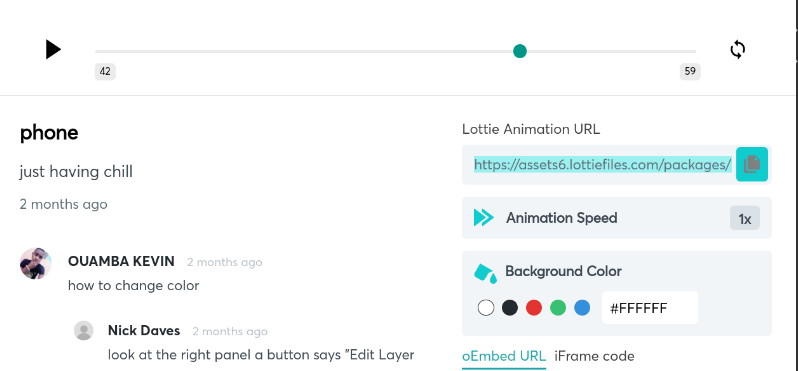
You can copy it manually, or click on the icon to the right of the URL to do so automatically. Next, return to your Beaver Builder editor.
Paste the URL in the Input JSON URL field of the settings panel. Now you will see your animation playing where you placed it.
Step 5: Customize and Style Your Animation
After you’ve added your animation, you can change its styling to your liking. There are various ways you can do this:
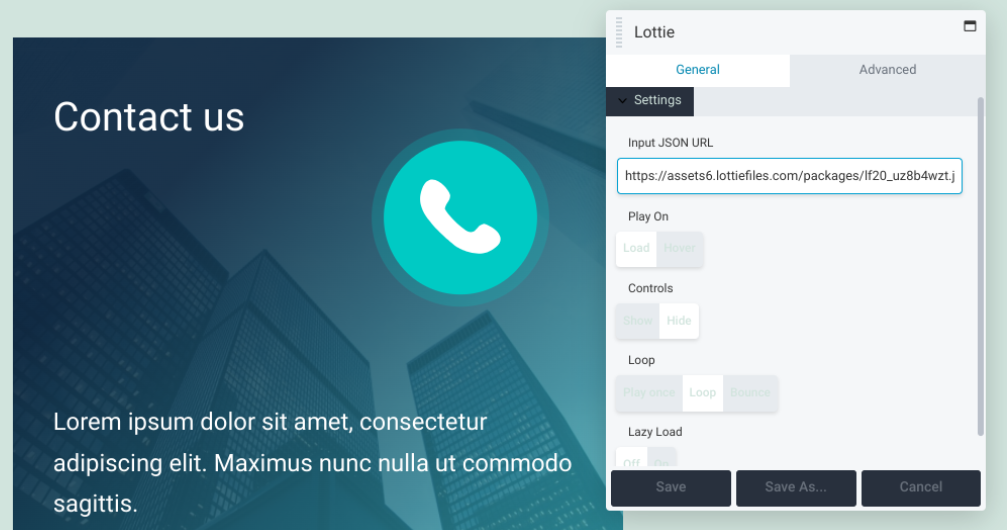
Let’s take a look at what each of these customization options can do:
- Play On. This setting lets you choose whether the animation starts playing once the page loads or only when the visitor hovers over the animation. By default, it’s set to Load.
- Controls. With this option, you can either show or hide the control options. For most animations, you’ll likely want to hide them. This offers a cleaner look.
- Loop. You can decide whether the animation plays once, on a loop, or bounces. With the latter option, it will bounce once between plays.
- Lazy Load. If you turn on this feature, the animation will only play once the visitor gets to that part of the page. This can help increase loading times.
When you’re done configuring these options, be sure to select the Save button. Next, you can make your way to the Advanced tab to find additional settings:
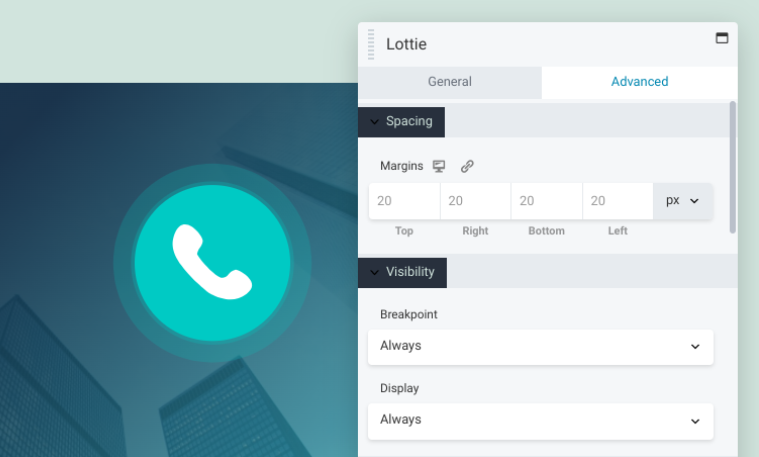
Under this tab, you’ll find the following sections:
- Spacing: With these controls, you can modify the margins around the animations.
- Visibility: You can use this setting to change the Breakpoint and Display options.
- Animation: This is where you can adjust the delay and duration (in seconds) of the animation.
- HTML Element: This optional setting lets you choose HTML5 content sectioning element to improve accessibility.
- Export/Import: With this option, you can copy your settings or import specific styles.
Finally, you can use the drag-and-drop builder to adjust the sizing of your animation. Again, when you’re done, remember to save your changes.
Step 6: Save and Publish Your Changes
After customizing your animation, the only thing left is to save and publish your changes. If you’re ready to publish the entire page, you can click on the Done button in the top right-hand corner of the Beaver Builder editor, followed by Publish:

If you’re not ready to take the page live yet, you can select Save Draft to return to it later. Once it’s published, you can preview it on the front end of your site to make sure everything looks and functions as it should.
That’s it! You’ve now successfully learned how to add animations in WordPress.
Conclusion
Incorporating motion into your web pages can be an effective way to engage visitors and increase retention. However, you may be afraid that animations will reduce your site’s speed. Fortunately, thanks to Lottie Files and Beaver Builder, you can leverage these interactive elements without damaging your overall site performance.
Let’s quickly recap how you can add animations to WordPress in six simple steps:
- Sign up for a LottieFiles account and choose your animation.
- Install the Lottie for Beaver Builder plugin.
- Launch the Beaver Builder editor and add the Lottie module.
- Copy and paste the LottieFile Animation URL.
- Style and customize your animation.
- Save and publish your changes.
4 Comments
Related articles
Beaver Builder Favorite Features & Why We Love Them
Ever wondered what features the Beaver Builder team loves the most? 🤔 We asked our team members to share their…
Beaver Builder Dev Update: The Road to 2.10 and Beyond
Greetings, Builders! It’s been a busy stretch since our last dev update, and we’re thrilled to bring you up to…
Beaver Builder 2.9 & Themer 1.5: Multi-Layer Backgrounds, Enhanced Color Picker, Loop Module
We’re excited to introduce Beaver Builder 2.9, also known as “Coyote”, packed with exciting updates designed to simplify workflows and…
Join the community
We're here for you
There's a thriving community of builders and we'd love for you to join us. Come by and show off a project, network, or ask a question.
Since 2014
Build Your Website in Minutes, Not Months
Join Over 1 Million+ Websites Powered By Beaver Builder.
 Beaver Builder

Exactly what I have been looking for. I have launched a new site and the home page has been slowing down due to animations. Thank you for writing this!
If this works without glitches then you just solved my problem.
Thanks this is a very good guide. Having said that, I tend to avoid animations as much as possible to ensure max page load speed
I have just started my new blog and I’m designing it on my own. This article is very helpful for me, thanks!